In this article we are going to see how to use Neo 6M GPS module with Raspberry Pi and also how to use python to process the GPS data.
Hardware Part:
So at first lets talk about the hardware part. Here I will use Raspberry Pi 3 B+, but You can also use other varients like Raspberry Pi Zero, Raspberry Pi 4 etc. I am using Neo 6M as GPS module because it’s quite cheap and also very much accurate.
Connections:
Here we only need to connect the Neo 6M module with Raspberry Pi which is quite easy. The connections are shown below:
		Neo 6M VCC -----> Raspberry pi 5v
		Neo 6M GND -----> Raspberry pi GND
		Neo 6M  RX -----> Raspberry pi TX (gpio 14) //Not required in our case
		Neo 6M  TX -----> Raspberry pi RX (gpio 15)
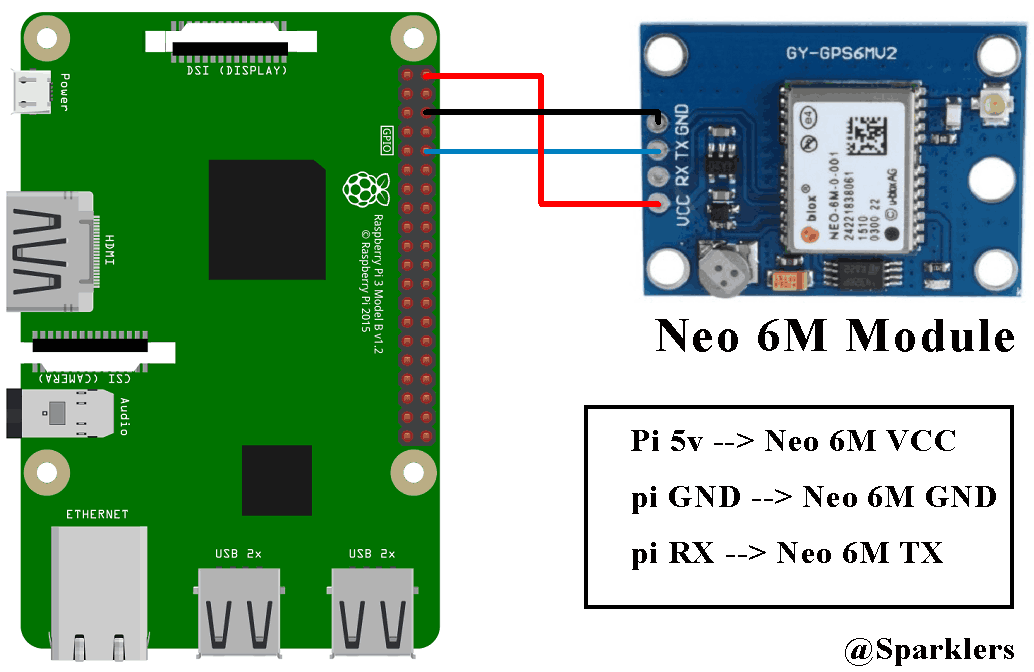
So we need the VCC of Neo 6M to be connected with 5v of Raspberry pi, GND of Neo 6M with GND of Raspberry pi and TX of Neo 6M with RX of Raspberry Pi so that the gps module can send data to raspberry pi through the serial connection. Thats all about the hardware part and now lets go for the software part.
Software Part:
Getting data from the GPS module:
- Install the lastest Rasbian OS in a memory card. For details visit www.raspberrypi.org/documentation/installation/installing-images/.
- Insert the memory card into raspberry pi and power it up.
- Now here we need to modify few things. At first we need to edit the /boot/config.txt file. Now you need to open this file in any text editor. Here I am using nano:
sudo nano /boot/config.txtAt the end of the file add the follwing lines:
dtparam=spi=on
dtoverlay=pi3-disable-bt
core_freq=250
enable_uart=1
force_turbo=1
It will look something like this:
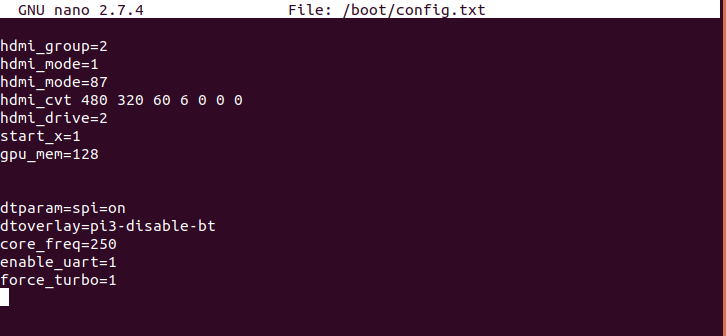 Now save this by typing ctrl +x, then type y and press enter.
 - Raspbian uses the UART as a serial console and so we need to turn off that functionality. To do so we need to change the /boot/cmdline.txt file.
For safety before editing the file make a backup of that using the following command:
sudo cp /boot/cmdline.txt /boot/cmdline_backup.txtNow to edit that file open that in text editor:
sudo nano /boot/cmdline.txtReplace the content with the follwing line (delete everything in it and write down the following content):
dwc_otg.lpm_enable=0 console=tty1 root=/dev/mmcblk0p2 rootfstype=ext4 elevator=deadline fsck.repair=yes rootwait quiet splash plymouth.ignore-serial-consolesNow save this by typing ctrl +x, then type y and press enter.
Now reboot pi using:
sudo reboot
5.After the reboot now its time to check how our GPS module is working.
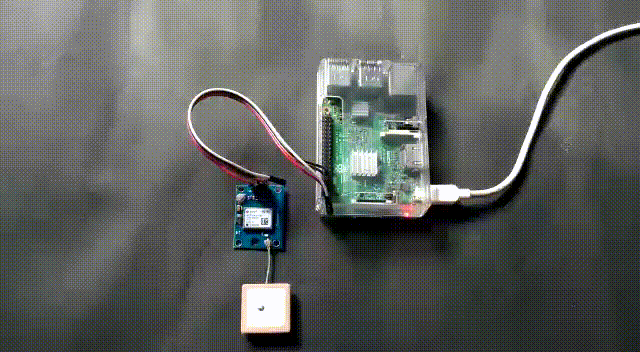
!!!before checking this out make sure that the blue LED in the Neo 6M is blinking. Basically the blinking of blue LED means that its receiving the data perfectly. Generally it takes few minutes to blink the LED after giving power to the module. So wait until that. And if its not blinking even after 5 minutes then go to a window side area or any place under the open sky. In the image below you can see how the blue LED should blink.
When the blue led is blinking, run the following command:
sudo cat /dev/ttyAMA0
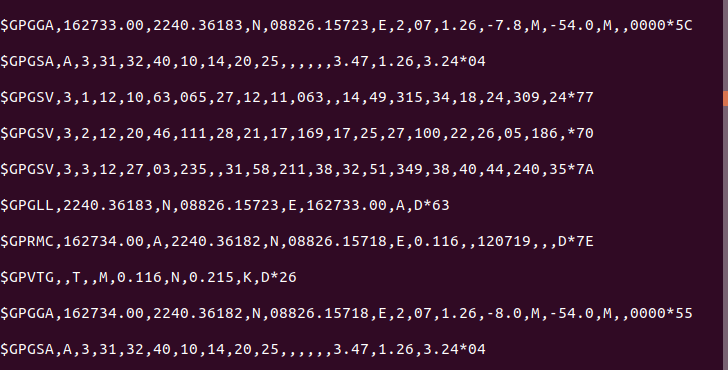
Now you will see a lots of data like shown in the below image. That basically means that its working. To stop this type Ctrl + c .
Setup for writing the Python Code:
- Now before we write the python code to get the GPS data we need set up few things again. By default the Raspberry Pi uses serial port for this “console” login so if we want to use the serial port to get data from the GPS module we need to disable the console login. Now there are two serial ports in Raspberry pi 3: serial0 and serial1. But inbetween them serial0 will point to GPIO pins 14 and 15, so we have to use serial 0. Now to see which port is connected with serial0 use the follwoing command:
ls -l /dev
There are two possible outputs:
- If your output looks like this:

As you can see serial0 is linked with ttyAMA0. So to disable the console you need to use the follwing commands:
sudo systemctl stop serial-getty@ttyAMA0.service
sudo systemctl disable serial-getty@ttyAMA0.service
- But if your output looks like this:

That means serial0 is linked with ttyS0. So to disable the console you need to use the follwing commands:
sudo systemctl stop serial-getty@ttyS0.service
sudo systemctl disable serial-getty@ttyS0.service
To learn more about serial ports of Raspberry Pi you can visit the following link configuring-gpio-serial-port-raspbian-jessie-including-pi-3
Lets write the Python Code:
- Now we need to install a python library:
pip install pynmea2 - Now finally we are ready to write the code:
import serial
import time
import string
import pynmea2

while True:
	port="/dev/ttyAMA0"
	ser=serial.Serial(port, baudrate=9600, timeout=0.5)
	dataout = pynmea2.NMEAStreamReader()
	newdata=ser.readline()

	if newdata[0:6] == "$GPRMC":
		newmsg=pynmea2.parse(newdata)
		lat=newmsg.latitude
		lng=newmsg.longitude
		gps = "Latitude=" + str(lat) + "and Longitude=" + str(lng)
		print(gps)
If you run this python code you will see a output like this:

I am not moving this device thats why it’s giving me the same GPS location. But as you can see it’s working properly.
So at the end of this article we have a device which can give us realtime gps data. In the next blog we will see how to use this device to make a live GPS tracker, means from anywhere in the world we will be able to track this device.
The Author :

Like our facebook page and subscribe to our youtube channel so that you won't miss out future updates:
Follow us on facebook at : sparklers2018
For our latest videos subscribe us at : SPARKLERS:We Are The Makers